
You may have seen Native plants being advertised at garden centers, at horticulture societies or at the Philadelphia Flower Show in the last couple of years. There is still some confusion about what Native plants are or what they do. Native plants offer many advantages to gardens and the environment. To understand what those benefits are, you need to understand what makes a plant Native.
A Native plant is any plant that grew in Pennsylvania before the European Settlers arrived. Native plants are not exotic plants that were brought in from other Countries. These days there are unfortunately a lot of invasive, non-native species that were brought into the U.S. that are now starting to choke out a lot of the existing Native species. Native plants have adapted to grow in the local conditions of PA, but so too have some of the non-native species.
Native plants offer many benefits for the environment, wildlife and us. Here are some of those benefits:
Since Native plants already thrive in our climate, they are low maintenance, once they are established. A lot of these species are tolerant of poor soil and little to no added fertilizer.
Native plants increase diversity of Pennsylvania’s wildlife by providing beneficial insects shelter and food, which a lot of local songbirds and other wildlife then consume. Without a steady supply of insects these animals won’t survive. Monarch butterflies, bees and a lot of species of birds are already threatened. Beneficial insects also eat pests and help to pollinate fruit and vegetable crops to help increase harvest.
A lot of species of Native plants also have deep root systems, which can filter and soak up contaminants and pollutants in ground water, stopping it from ending up in our drinking water.
Native plants are also drought tolerant, once established.
How To Obtain Native Plants:
-Never collect from the wild
-Order or purchase specimens that have been nursery raised from a reputable mail order catalog or plant nursery.
At the end of this post, I’ll list some good sources for Native plants.
Here are some of my favorite Native Perennials:
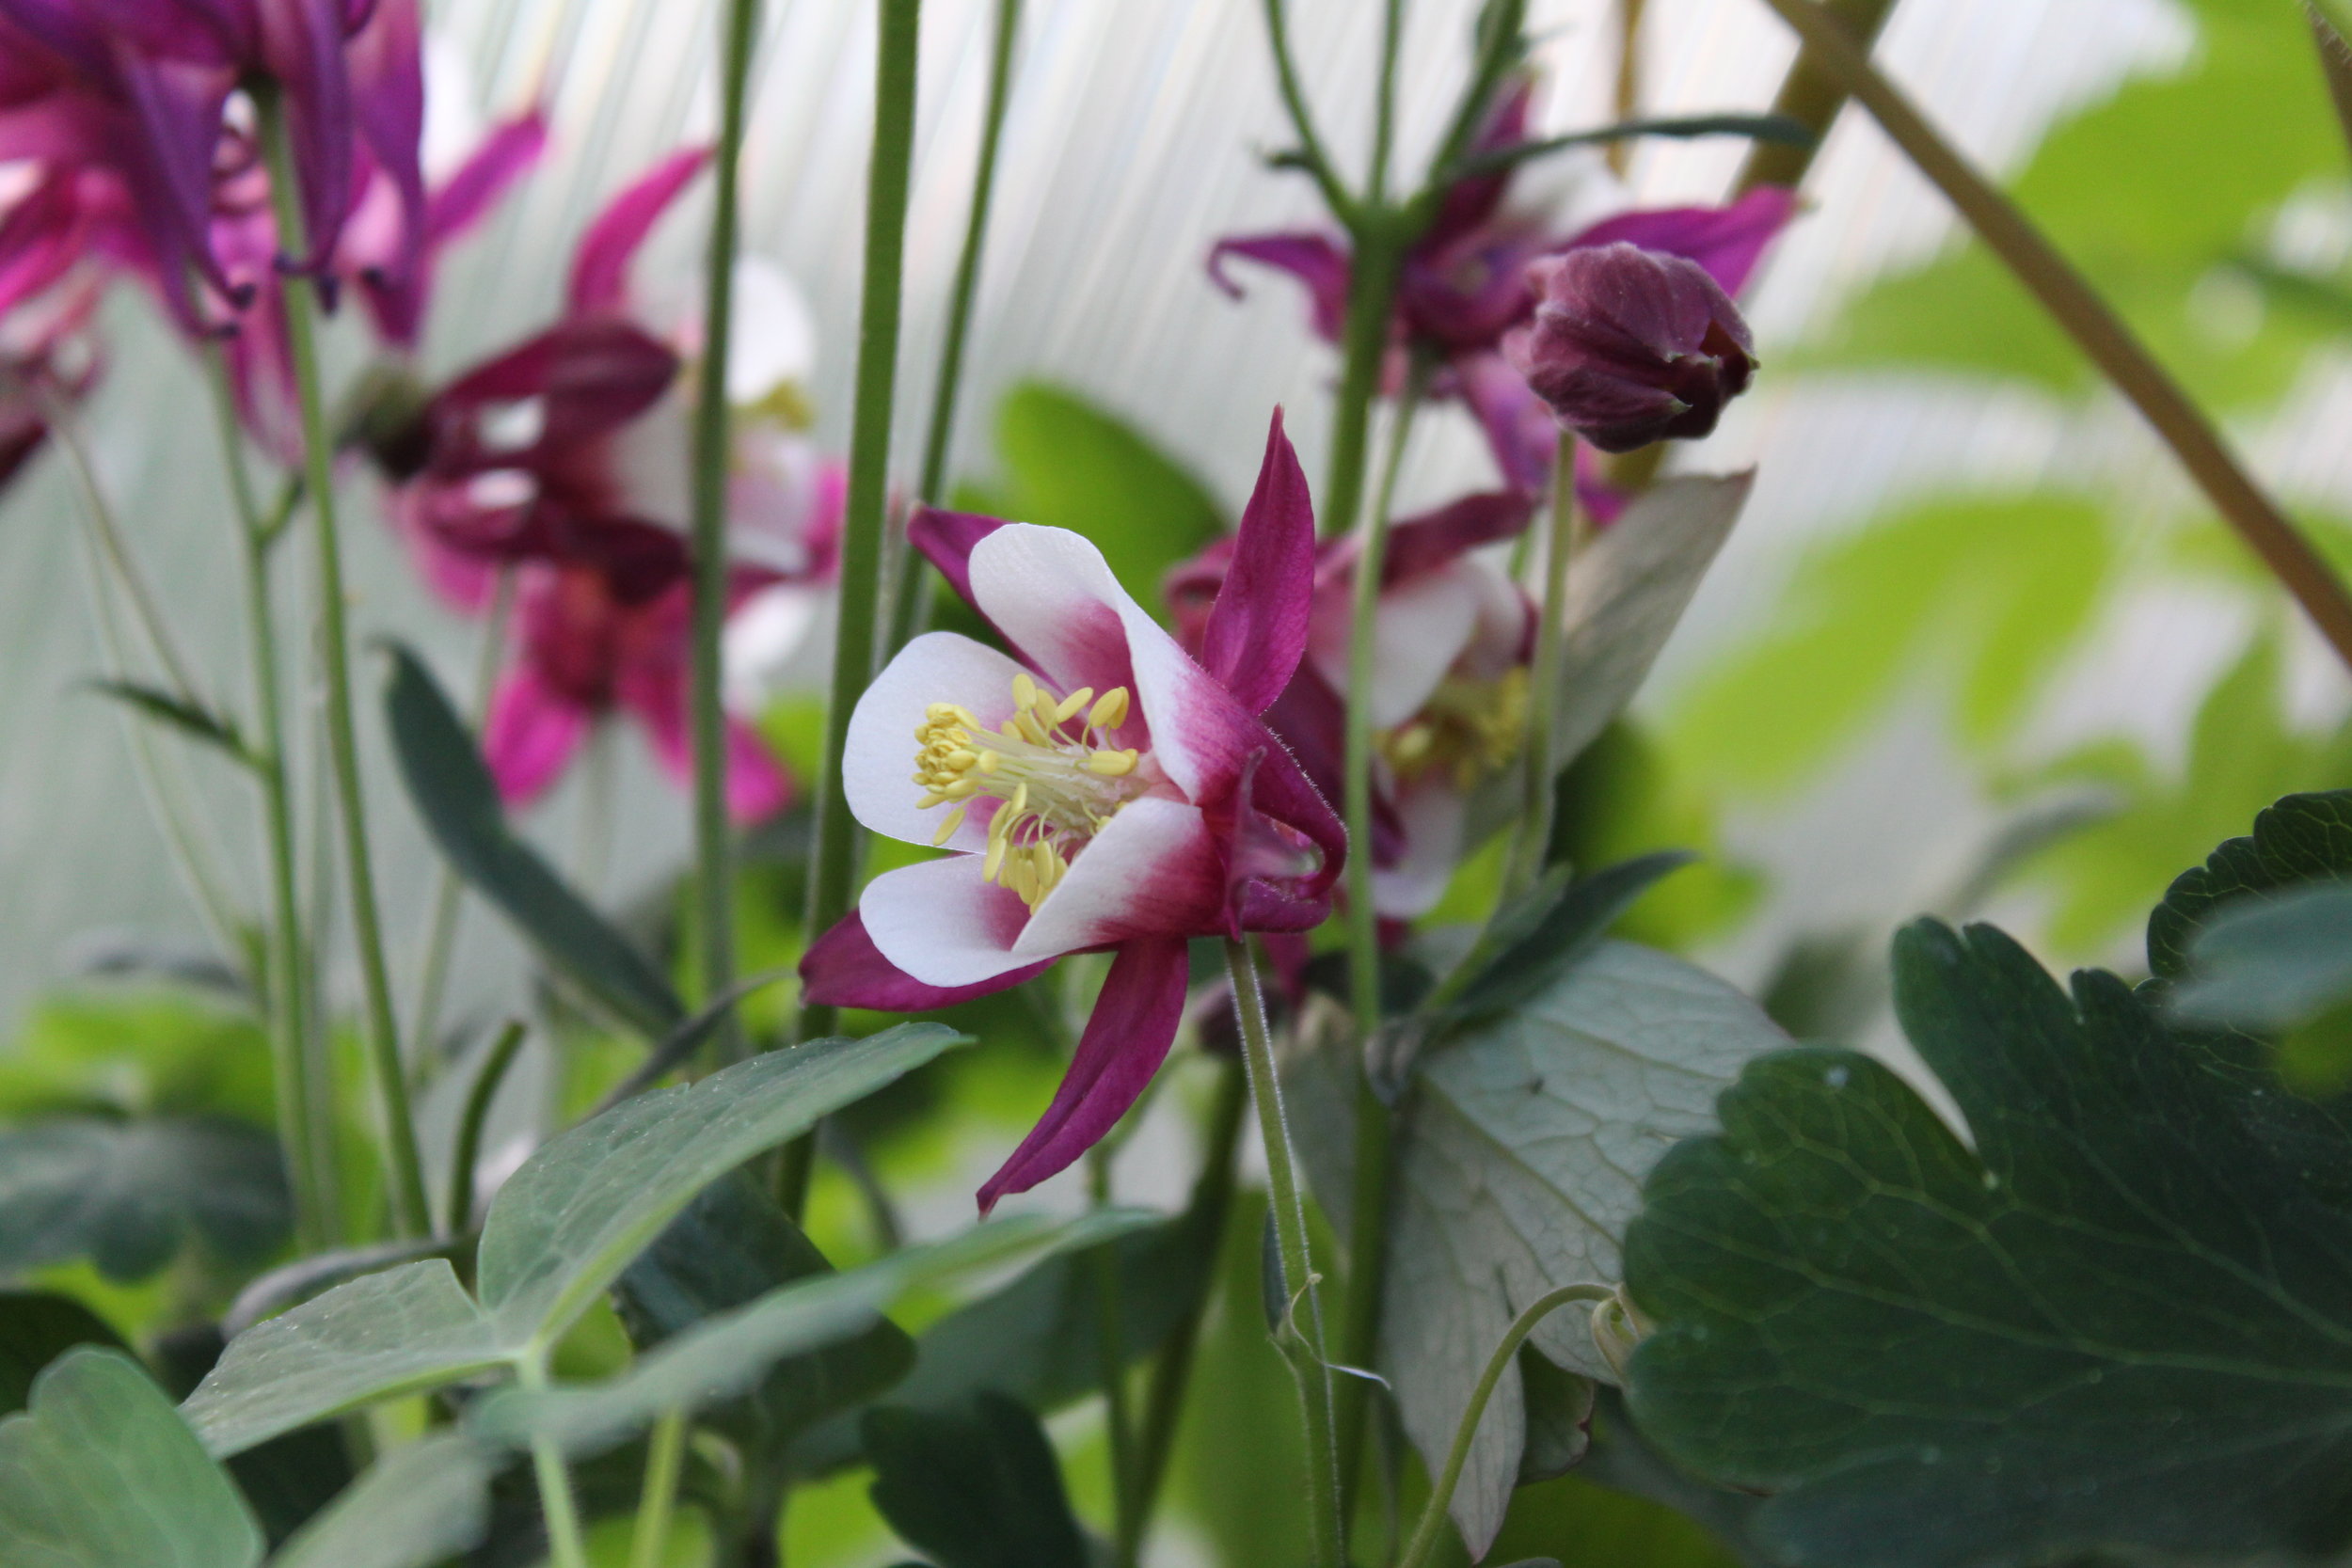
Aquilegia canadensis- Columbine -Great spring bloomer, reseeds easily
Asarum canadense- Wild Ginger -Great for shade gardens and as ground cover
Asclepias tuberosa- Butterfly Weed -Attracts butterflies, reseeds easily
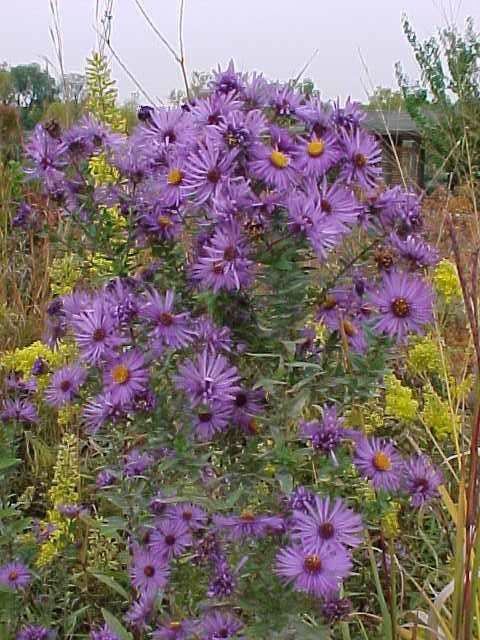
Aster novae-angliae- New England Aster -Great late season bloomer
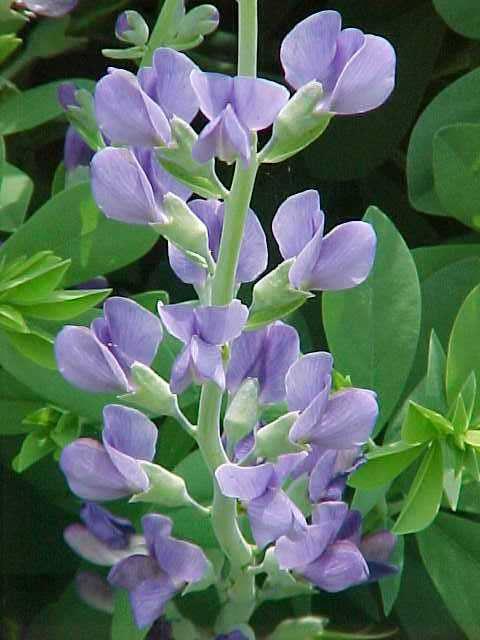
Baptisia australis- Wild Blue Indigo -Great spring bloomer, gets large
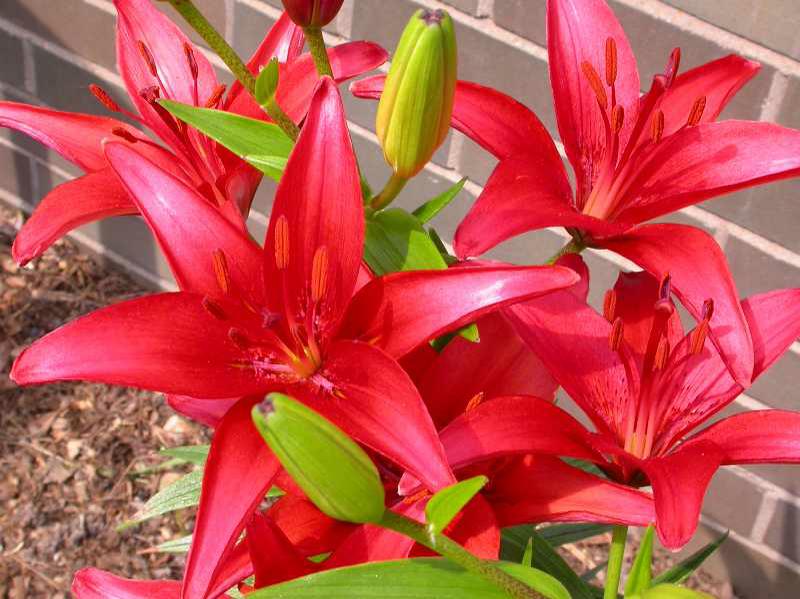
Lobelia cardinalis- Cardinal Flower -Attracts hummingbirds
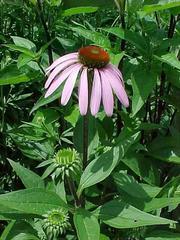
Echinacea purpurea- Purple Coneflower -Attracts butterflies, great late season bloomer
Geranium maculatum- Hardy Geranium -Great ground cover
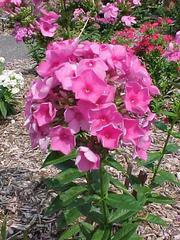
Phlox paniculata- Garden Phlox -Showy flowers, summer blooming
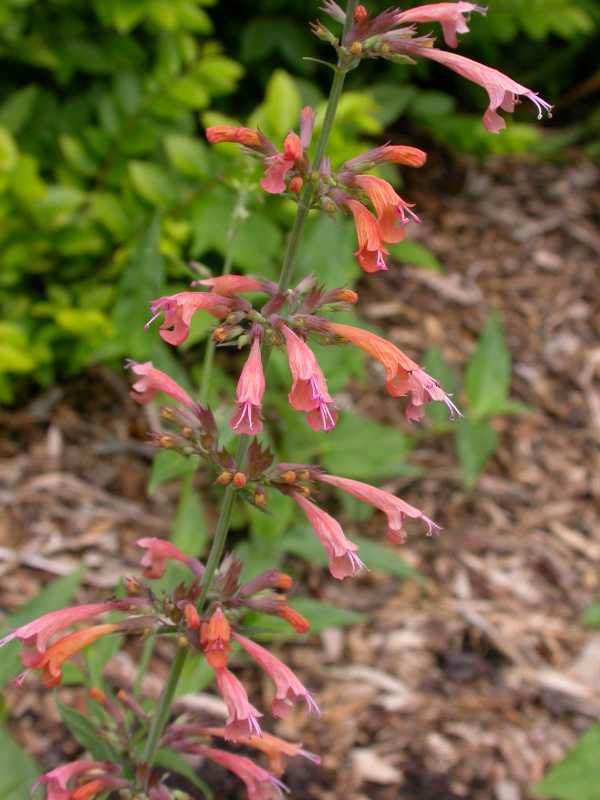
Monarda didyma- Bee Balm -Bright, colorful flowers in summer, attracts hummingbirds
Native Plant Sources:
Primex Garden Center, Glenside, PA- www.primexgardencenter.com
Prairie Moon Nursery, Winona, MN- www.prairiemoon.com
Sources:
Penn State Extension: Pennsylvania Native Plants for the Perennial Garden, Schmotzer, Constance. Updated: 2013. http://www.extension.psu.edu, 9 Jan. 2019.
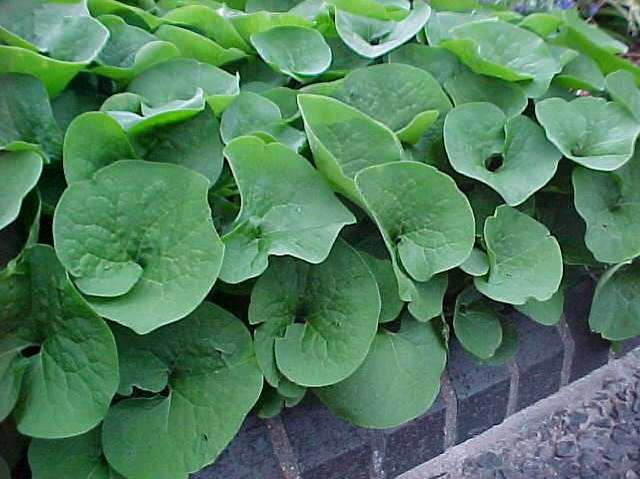
Asarum canadense- Wild Ginger (Photograph Courtesy of: Missouri Botanical Garden)